This article is aimed to show how to install DCS software Yokogawa Centum VP R5 by our experience, in short time, and legal way using license which is already installed in the factory system.
In fact, it is can be called as
"back up" installation ENG PC which is already installed in your factory
 |
| Centum VP R5 system - with ENG spare |
What need:
1. ENG PC which installed Centum VP R5
2. CD with Centum VP software
3. CD with Key code (come along with factory's project)
Those 3 things are already existed in your factory. We will need
one new computer, which we will install Centum VP with license. This computer is seen as
backup ENG PC which can be used if your current ENG PC can't run.
Let's start!
Step 1. Install window OS for new computer
Remember to set password for admin user, later on, Centum VP will need password at log-on screen. If you don't set password, it can be never logged on Window in next step.
Rename for computer name to be same as ENG PC in using
One small thing is set power never turn off:
Step 2. Install hardware
There are 2 things need to install:
One is V-net card, set address at dip-switch to be same as with V-net card on ENG PC in using, then install card to PCI slot.
Two is DCS keyboard, plug USB cable into PC.
Those 2 things need to install driver in next step
Step 3. Install driver
Insert "Centum VP software" CD into PC. Open autoplay and install driver for V-net card & USB:
 |
| Centum VP setup screen |
Click to
"Control Bus Driver" to install driver for V-net card
Click to
"USB driver for Operation Keyboard" to install driver for DCS Operation keyboard
Then, click to
"CENTUM VP Software" to install Centum VP software, detail every thing in step 4.
Step 4. Install "Centum VP"
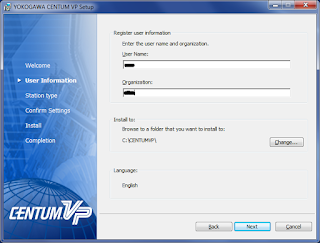 |
| type Organization -> click Next |
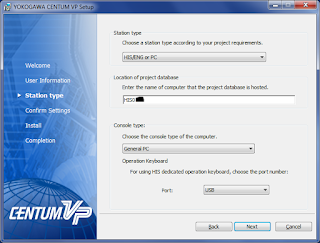 |
| type name computer to be same as ENG PC in using |
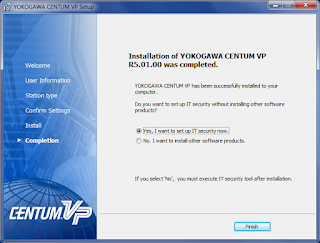 |
| choose "Yes" to install IT Security |
 |
| Choose "Legacy Model", or can be check model at ENG PC in using |
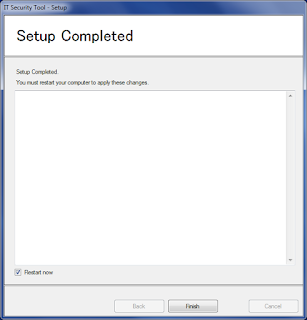 |
| Finish! |
Because license is not activated, so other software of Yokogawa not shown here. Next step is for license procedure.
Step 5. Backup license
At ENG PC in using, do backup license. This backup license will be restored in new PC
Step 6. Activate license
This procedure will need "backup license" in step 5, and license key on CD which come along with factory's project
Copy both "backup license" and "license key" to new PC
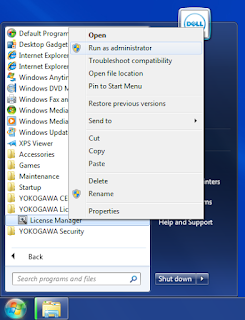 |
| open "License Manager" by admin mode |
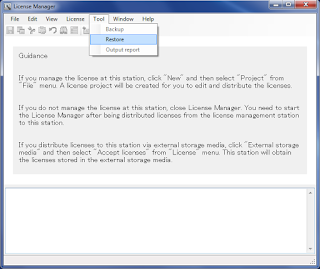 |
| choose "Restore" to restore License |
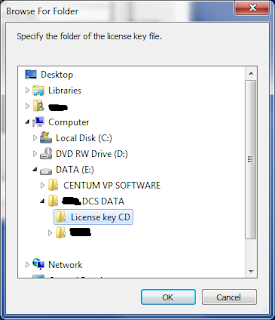
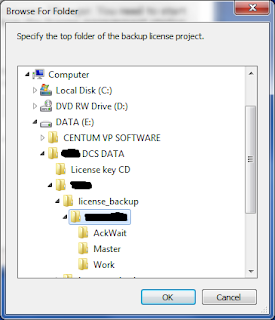 |
| choose folder contain "backup license" |
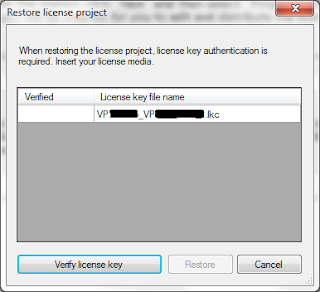 |
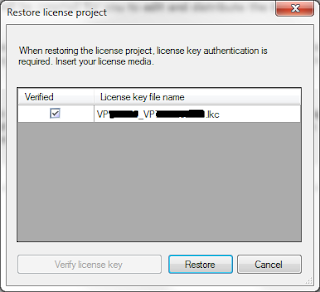
| click to "Verify license key" |
 |
| choose "license key" which is from CD |
 |
| tick mark appear, then click to "Restore" |
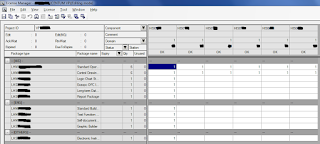 |
| Full license is appeared, same as ENG PC in using |
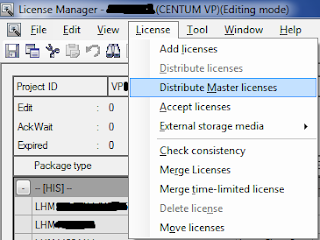 |
| choose "Distribute Master licenses" |
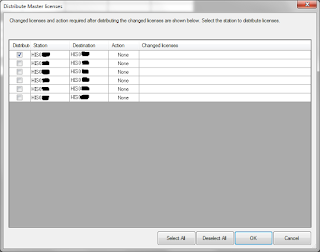 |
| tick only ENG name mark |
 |
| Result shows that, restore license is successful |
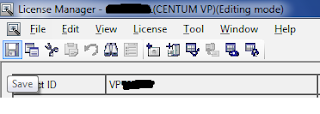 |
| Save license |
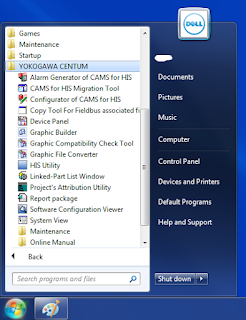 |
| Now, full of software DCS are shown, especially "System View" needed for download program |
All above steps are for installing Centum VP to new PC, also activating license
Next step is for backup project (at ENG PC in using) to new PC
Step 7. Backup project
At ENG PC in using, do backup project, then copy it to new PC
Step 8. Restore project
 |
| copy backup project to new PC, with directory as in picture |
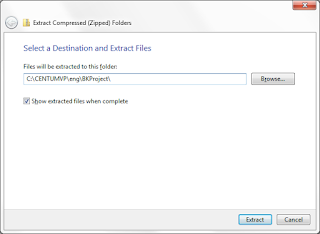 |
| extract project to directory as in picture |
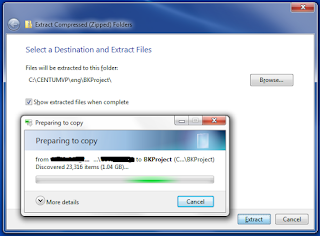 |
| ... extracting |
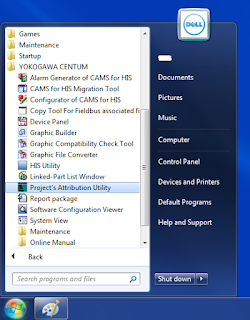 |
| choose "Project's Attribution Utility" |
 |
| choose "Register" |
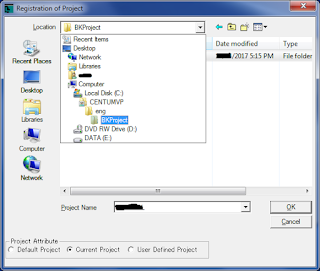 |
| point to project have just extracted, remember to choose "Current Project" |
 |
| click "Exit" |
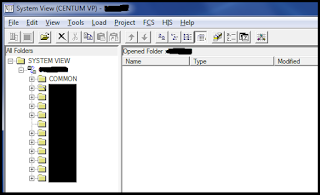 |
| Open "System view", we will see project here, same as ENG PC in using |
Step 9. Copy long-term data, report
This part is less important, just copy long-term data for trend, report to make it same with ENG PC in using
That is finished. New PC is now can plug to system and act same as ENG PC in using.


during the installation, i got a notification that says "error reading file F:\centum_software\centum\install\centum.cab. verify that file exists and that you can access it", i cpuldn't continue the installation, please tell me how to handle this
ReplyDeleteWhich step you get fault?
DeleteYour software is good? no corruption? Please check your installation file first.